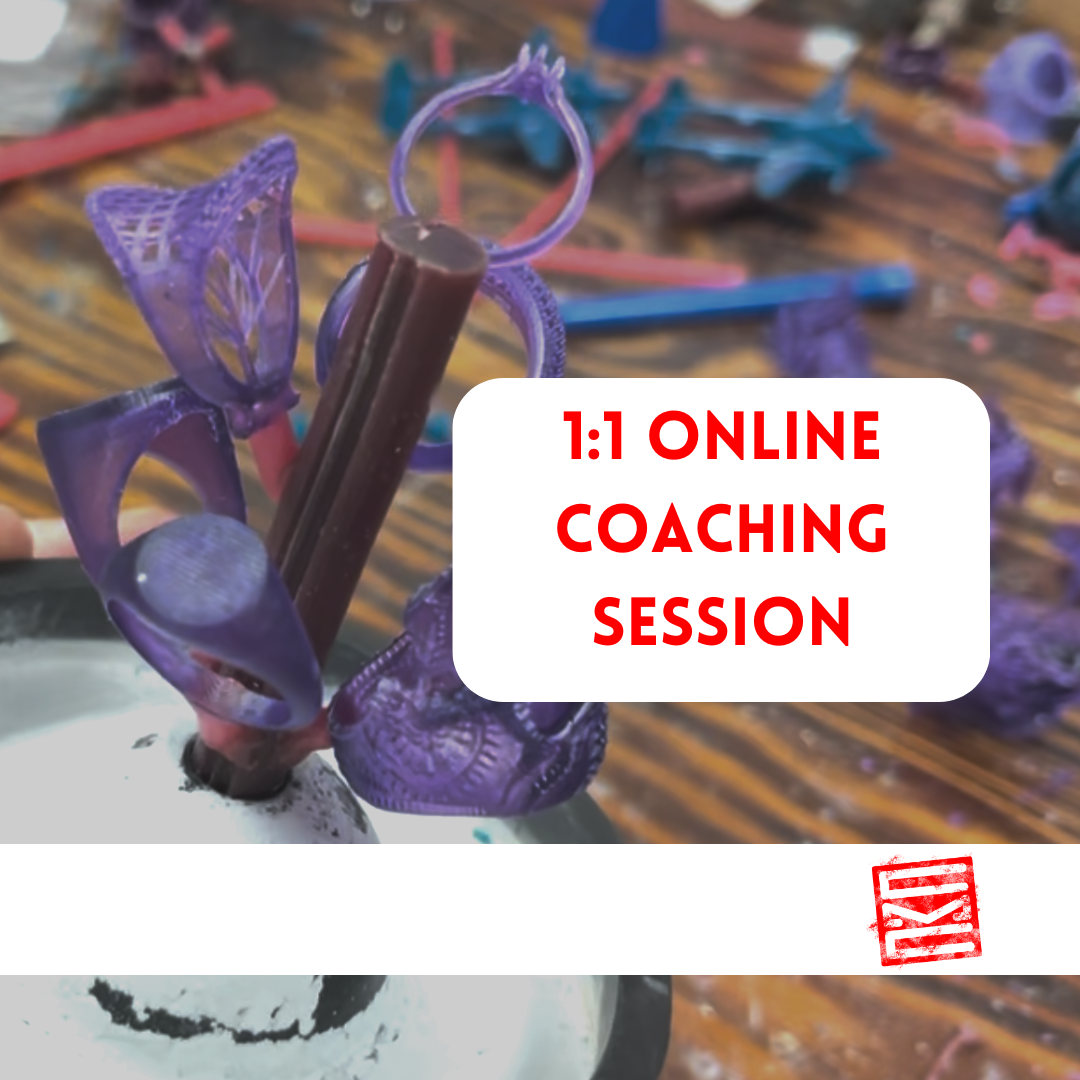
Recommended Tool List
For those looking to get into lost wax casting or lost resin casting we have put together a list of tools that we use, and would recommend.
If you have any questions please refer to our Youtube Channel as we may have a video reviewing the product, or something similar.
[Updated on January 2025. If links are no longer available please email info@clearmindcasting.com. By purchasing tools using some of the links below we will receive a % of the sale price. There may also be discounts only available through using our links.]
Mold Making
One of the great things about the casting process is the replication and reproduction process. One of the ways you can do this is through vulcanized or RTV molds.
Through this process you can take a metal, wood, plastic, or other object, mold it and inject wax to make multiple models. If you arn't sure which mold type is best for your process you can watch our video about the two most popular options here.
For vulcanized molds here are some of the tools we would recommend:
- Spru Former

- Mold Frame
- Vulcanizer
- Mold Release Cream
- Cutting Blades & Scalpel
When it comes to injecting your molds there are tones of options on the market including manual hand pump and automatic. The wax injector we have in our studio runs off a standard 2 gallon tank air compressor.
Spruing
Once you have all of your waxes or 3D prints you are ready to spru all of the pieces together in a tree. Traditionally this would be done with an alcohol lamp and a spatula but we would recommend getting a wax pen to make things go faster.
- Wax Pen
- Flask Base
- Small Spru Wax
- Flexible Spru Rod
- Sticky Wax (Used for attaching 3d prints to wax as sometimes different resins won't stick well.)
If you work primarily in 3D prints you can print all of your items in a pre-assembled tree like in this video.
If you are new to casting and don't know how to properly assemble a tree consider taking our online spruing class.
Investment Mixing & Investing
Once you have your tree together you are ready to invest your flask. We have done a whole video covering what investment is and the things you should know before you purchase. For those doing lost resin casting we recommend Prestige Optima, R&R Plasticast, or another investment type suitable for 3D prints and plastics. For those doing lost wax casting R&R Ultravest was our previous go to, but as 3D printed components require a special investment we now use Optima or Plasticast for all model types including our wax and organic material models.
You will need an assistance method to get rid of all bubbles in your mixture. This is why we recommend a two in one vacuum like the Kaya Cast (which removes bubbles from your investment and also vacuums your flask when pouring metal).
If you have never mixed investment before consider taking our online class where we walk you through the process step-by-step including how to determine how much investment you need, and determining how much metal you need for your cast.
Get 10% off your order from Pepetools with code DANIEL59539 including purchases like the KayaCast.
Casting
Once everything is ready and you have finished your burnout you are ready for casting. If you need more information on burnout you can see our video here.

For casting we recommend the Kaya Cast and have done a full review of the casting unit here. You will also need a way to melt your metals. For small batch castings you might be able to get away with a Smith Little Torch but for regular casting we recommend an electric furnace like the Ventura-Melt. We specifically recommend the Ventura-Melt as, unlike with other electric furnaces, you do not need to remove the graphite crucible from the furnace and can pour the metal as if it were a coffee pot. See our full review on the Ventura-Melter here. (Please note it has been re-branded since our review).
Finishing and Polishing
Although great detail can be achieved with lost wax casting and lost resin casting you still will need to take your pieces through a series of grinding, sanding, and polishing to get the best effect. This can be done manually or via an automated process.
For a manual approach we suggest the Foredom Flexshaft for a solution at the bench, or one of Arbes enclosed polishing units for bigger collections.
For an automated approach after grinding off your sprus and other "blemishes" you can use tumblers to take your pieces from a basic casting to an almost high polish.
If you are looking for tumblers for cleaning purposes. To remove investment or clean of polishing compounds the Vevor Tumblers are good, both the Rotary and Magnetic.
If there are bits of porosity or you are casting components with multiple pieces we use the Sunstone Orion 150s. A quick zap can get rid of porosity. We can also do multi-metal projects, attach earring pins, and jump rings. Use code Shannon5 for 5% off your order on https://permanentjewelry.sunstonewelders.com